

How To Measure A Tote Bag
We independently research our recommended products. We may receive commissions on purchases made from our links.
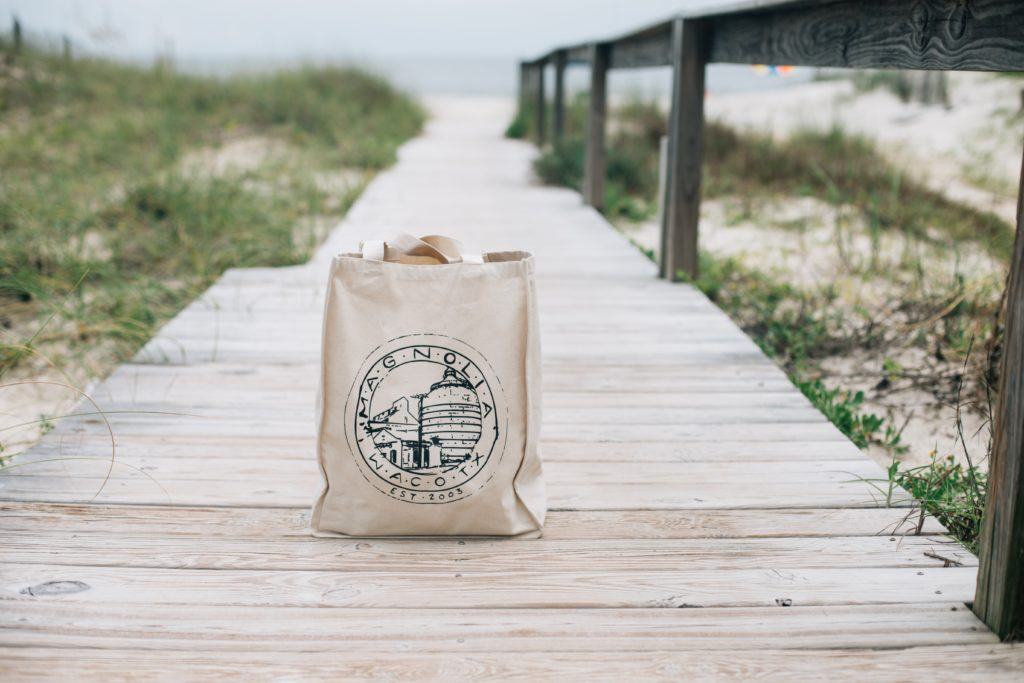
When it comes to bags, there are a wide range of types – but nothing beats the simplicity of a tote bag. A tote bag is defined to be a large handbag with parallel handles, making them a very versatile pattern.
Tote numberless can exist simple, to niche, to fifty-fifty designer! This design is as well very popular as an eco-friendly solution to shopping bags, lessening the employ of plastic. Other than beingness eco-friendly, they're ambrosial too!
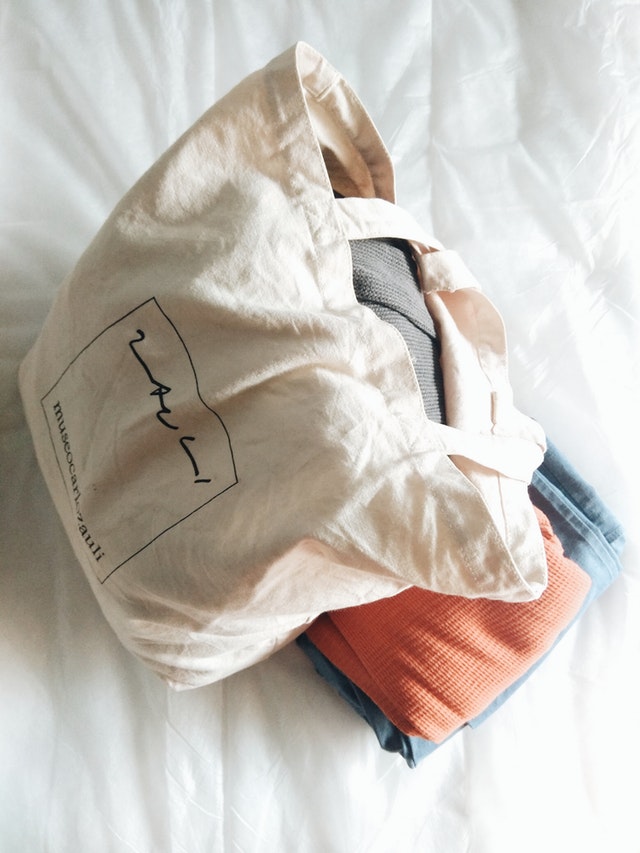
Beyond all this, what's the best affair near tote bags? They're so easy to brand. Creating your tote bags ensures they're fifty-fifty more eco-friendly.
Equally a plus, a DIY tote handbag can be crafted from the wildest designs, providing y'all with one for every occasion!
How do you create a tote bag? In this article, we'll cover the many different ways you can create a tote bag – from those with a flat bottom, to a zippered tote bag, to those with a lining. Let's dive in!
- What Fabric to Utilise
- How to Make a Tote Bag
- How to Make a Tote Bag with a Apartment Bottom
- How to Make a Quilted Tote Handbag
- How to Brand a Tote Bag with a Attachment
- Other Patterns
- Conclusion
What Fabric to Apply
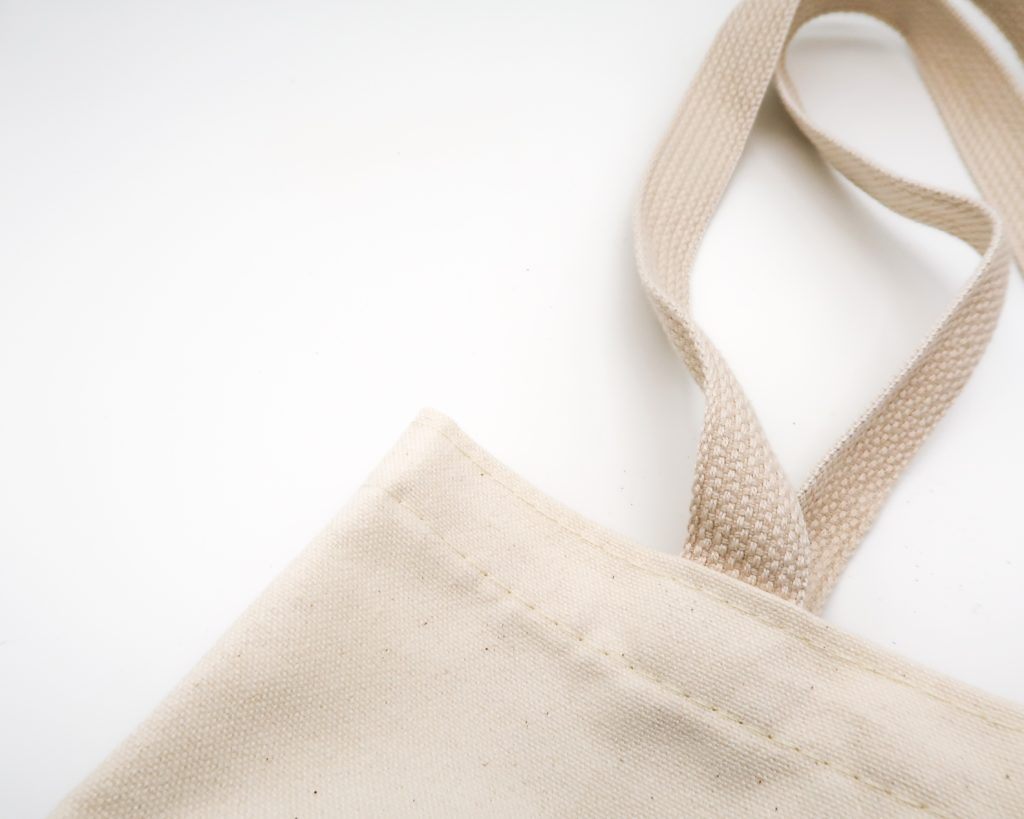
What fabric should y'all use when creating a tote pocketbook? Canvas is a classic tote fabric, but you may have to work with stronger needles.
Of form, y'all can always option a thinner textile, and utilize a lining to make your purse sturdier. You can too add interfacing to provide structure in your handbag.
When selecting your fabric, feel complimentary to become creative – only be conscious of how much weight it tin handle.
How to Make a Tote Bag
At that place are many different ways to make a tote pocketbook.
The following tutorials on how to brand a tote purse focus on one aspect, just you lot tin easily mix and match these patterns to create the perfect design for you!
How to Brand a Tote Pocketbook with a Flat Bottom
The flat bottomed tote bag is the become-to pattern for all sewists. Information technology's a tried and tested design, and it's super versatile also!
This blueprint is an excellent manner to get the hang of sewing numberless, so it'southward perfect for beginners and those just learning how to make a tote bag with lining.
Fifty-fifty though it's simple to create, it'south very stiff, so you'll have no issue taking it for a casual stroll or on a shopping trip.
Materials
- Bottom material, 1/3 thou.
- Acme fabric, ½ 1000.
- Inner fabric, ½ thousand.
- Scissors.
- Thread.
- Sewing automobile.
Method
- Let's begin by cutting our fabric. From your lesser fabric, cut out two pieces measuring 17 by viii inches. From the top material, cut out two pieces measuring 17 past 12 inches. For the straps, cut out ii pieces measuring 31 by 4 inches.
- At present, accept one top fabric and i lesser cloth and lay them out, right-sides together. Sew together one border.
- Cut out ii pieces of inner textile, according to the size of this new piece.
Sew both of the inner pieces together around the bottom and side edges, right sides facing.
- At present, catch the bottom corner of the bag and plough it then that the textile forms a triangle. So, sew a seam beyond, about an inch from the tip. Next, snip off the triangle. Do the same thing for all corners.
- Set these aside equally we create our straps. Take the fabric pieces and fold them in one-half lengthwise, correct-sides together. Sew it closed, so turn correct-side out.
- Now, turn your inner material correct-side out. Put the inner pocketbook within the outer pocketbook, and slide the straps between the two. Pin everything in place.
- Sew effectually the pinnacle of the bag, leaving a four-inch gap. Turn the bag within out through this gap.
- Tuck the inner pocketbook and atomic number 26 the unabridged piece. Topstitch around the superlative of the bag to close the gap.
- And congratulations! You have your new tote bag!
This video shows an case of how to make a tote bag.
How to Brand a Quilted Tote Bag
What's a great way to add pizzaz to your bag, all while using up actress fabric scraps? Why, a quilted tote handbag, of form!
If you lot're wondering how to brand one of those adorable quilted tote bag patterns, you're in for a treat.
Quilts can exist time-consuming, but they aren't as difficult to create equally you lot'd imagine. What this project lacks in speed, it makes up for with a sturdy pattern. As a plus, these bags are gorgeous to look at!
Whether y'all're experienced with quilting or this is your kickoff project, you can handle this in an afternoon. Allow's dive in!
Materials
- 3 fabric quarters of unlike patterns.
- Lining fabric, at least twoscore inches past 25 inches.
- Thread.
- Sewing automobile.
- Scissors.
- Tape measure.
- Pins.
Method
- Begin past cutting upwardly your fabric quarters. If you tin, endeavour to coordinate the colors of your quarters so that they go well with each other. Try not to have too many patterns that are overly busy or crowded, and try to vary the colors that are in each blueprint. You lot will need to cut squares five inches long on each side. You volition need 27 squares, 9 squares from each textile pattern.
- When you have your squares prepared, the next step will exist stitching them together. You will need to have two sets of nine squares, iii rows by 3 columns. For the sides, you lot will need a row of three squares, ane for each side. Nosotros are going to get-go with the front of the handbag. First, you will demand to run up one row of three squares with another row. Then connect them with the third row. Do the aforementioned thing for the dorsum of the bag.
- And then, ready the first side slice past attaching three squares in a row. Create two of these, i for each side.
- When you're washed creating your fabric pieces, iron them flat to gear up for the adjacent step.
- Now information technology's fourth dimension to attach the lining fabric. Layout your lining fabric behind your quilt pieces, measuring out how much you lot will need to cut. Try to make your measurements as authentic as possible. Retrieve to keep a ½ inch seam around all sides of the fabric lining.
- This tutorial uses a special type of lining made specifically for quilt projects. This lining is fusible interfacing with a grid guideline so that you can hands line-upwards your quilt squares and cut accurately. While it can save yous a lot of time and effort, this lining is optional, and you can attain the same results with any lining. If you're not using fusible interfacing, pin the good sides of the front quilt slice and lining together, and stitch around the whole slice, leaving out a gap so you can plough the fabric inside out later.
Do the same affair with the dorsum, sides, and bottom pieces.
- Now, accept the front slice and turn it inside out. Fold the unfinished edges of the quilt and lining towards each other, most a ½ inch from the edge. Then, sew together a straight stitch over the border, keeping a ½ inch seam from the edge. Do the same affair with the other cloth pieces.
- Now it'southward time to get together the pocketbook. Take the front piece and pin a side slice to it, right-sides together. Run up equally close to the border, at about a ¼ inch seam.
- So, sew on the other side, followed past the bottom. The dorsum slice should exist attached, starting from i of the side pieces, and so you lot can piece of work your way around the whole piece.
- Later on assembling, turn the handbag within out.
- Add the strap past draping a tape measure over your shoulder. Determine your preferred width and double this number. Fold your straps by half, sew together, and turn them inside out. Atomic number 26 this, and sew them onto your purse.
- Voila! Yous have your quilted tote bag!
How to Make a Tote Handbag with a Zipper
For those who want a more secure tote bag, this blueprint has you covered. Zippers are a great addition to any tote handbag, ensuring all your items are kept prophylactic and tidy.
Zippers tin can be daunting for beginners, but with a bit of practice, you lot can stitch them without a hitch! Just be sure to take it slow and double-check your measurements; an uneven line of stitches can cause the attachment to malfunction.
Materials
- i ¼ yard of fabric, threescore inches broad.
- i yard of lining fabric.
- 1 22-inch handbag attachment.
- threescore inches of webbing, ane to 2 inches wide, for the straps.
- Interfacing (optional).
Method
- Begin past cutting out the pieces that you lot need. Cut out two pieces of each measurement: 24 x 21 inches for the front and dorsum of the bag, three x 24-inch fabrics for the zipper, and six x 32 ½-inch textile pieces for the sides and bottom.
- For the lining, cut two textile pieces of each measurement: 3 x 24 inches for the zipper, xviii x 24 inches for the front end and back, and 6 ten 30 ½ inches for the sides and bottom.
- Nosotros will start sewing the zipper section. First, identify the zipper right-side downwards on the 24-inch edge of the three x 24 inches. Sew the zipper to the cloth with a ¼-inch seam allowance; do the same for the other 3 ten 24-inch fabric.
- Add the lining by placing the attachment betwixt the outer and lining fabric. Sew with a ¼ inch seam, and exercise the same for the other fabric piece.
- Press the zipper tape and the layers of textile away from the attachment. Topstitch the edge of the pressed edge to hold it in identify, and drip the edges together.
- Set up this piece bated, and have one set of the vi x 32 ½ inch pieces. With the wrong-sides together, sew them with a ½ seam. Finish the seam, and topstitch the seam to the body of the textile.
- Right-sides together, friction match the seams of the side and lesser pieces to the center of the bottom. Pivot it in place. Clip the pieces at the corners, and marshal the edges against the summit edge; pin it in place.
- Attach the lesser and side piece to the forepart and back with a ½ seam allowance. Practise the same thing for the other slice.
- Now lucifer the seams of the top piece with the corners of the zipper piece. Stitch them together with a ½ seam allowance. When yous need to turn corners, clip corners to create space.
- Now it'south time to add the bag lining. Gather the lining the same way you attached the side and bottom pieces to the front and dorsum. This will be the aforementioned shape as your purse. Place the lining inside the bag, incorrect sides together. Match the seams and pin to hold in identify. Then, drip the top edges of the two fabrics together.
- Now information technology's time to adhere the straps! Measure 5 inches from the side seams on the front and dorsum of the bag. Pin the straps in place, and sew the straps with a ½ seam allowance. Stitch it multiple times to strengthen the straps.
- Now open the zipper. Pull out the bag through this opening. Align the seams, and reattach the top material.
- Fold the right-sides out, folding the top of the bag confronting the seam. Press the fabric so that the seam line becomes the top border of the bag. Topstitch the top border with a ½-inch seam allowance.
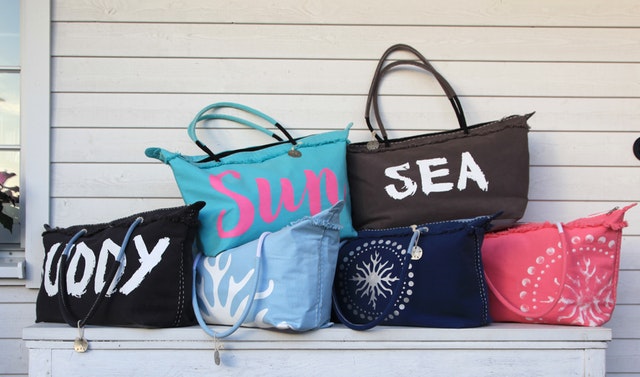
Other Patterns
There are many more tote pocketbook patterns. For example, why non attempt this reversible tote bag from Skip to My Lou?
If you're wondering how many other ways you tin create a tote handbag, check out this list from DIY northward Crafts for more than costless tote bag patterns.
Conclusion
Tote bags are versatile; once y'all have the hang of these basic patterns, you can easily create your ain! The cute, eco-friendly numberless brand peachy projects for beginners. Just get together your fabric and get crafty!
What are your favorite complimentary tote bag patterns?
Source: https://sewingfromhome.com/tutorials/how-to-make-a-tote-bag/
0 Response to "How To Measure A Tote Bag"
Post a Comment